
Prepping walls before painting is crucial to creating a professional-looking paint job. Without this step, your walls may not adhere properly and your results could look uneven.
Clean the walls thoroughly to avoid dust from getting onto your paint job and ruining its finish. Use either a vacuum cleaner or rag for this task.
Clean the Walls
Dust, dirt, and cobwebs can build up quickly on walls, leading to quicker peeling, bubbling, or chipping of paint than expected. To maintain fresh-looking walls, clean them regularly.
Use a vacuum with an attached hand-held dust brush attachment or wrap a rag around the head of a mop to clear away surface dust and debris, which helps avoid marks or streaks that could compromise your final paint job.
A vacuum can also help reach hard-to-reach places like corners and trim quickly and efficiently, such as corners with sharp corners or along trim edges. Equip it with a fine dust collection bag and high efficiency particulate air filter so all dust can be collected efficiently.
If there are any stubborn stains or marks, make up a solution of soap and water using a nonabrasive sponge, wipe the wall in small sections using this solution, wash with more of it after each one has been completed, rinse off completely with fresh water, then repeat this process until all marks and stains have been eliminated.
Remove Any Debris
No matter if your walls are recently painted or need an update, cleaning them regularly is key to making them look their best and prolonging the lifespan of their paint job. Achieve an appealing appearance will not only add aesthetic value to your home but can also extend its longevity!
Cleaning walls doesn’t need to be complicated or time-consuming; here are a few quick and simple solutions to keep them looking their best for longer:
Dust any surface, no matter its sheen. Run the dust brush attachment of your vacuum over ceilings and walls before wiping them down with a cheesecloth tack cloth or tack cloth.
Clean your walls using warm water mixed with mild detergent, making sure not to exceed 40 degrees, as too hot water could damage paintwork and too much detergent may leave sticky walls behind. Wipe down each section starting from the bottom and working your way upward.
Apply Primer
Priming walls is an integral step in painting, as it increases paint adhesion, improves sheen and prevents stains. Furthermore, priming adds quality to your finished paint job for a professional-looking result on walls.
Your choice of primer depends on the surface you are working on; options include latex-based or oil-based formulations.
Before priming walls, they should first be cleaned carefully to eliminate dirt and dust that could obstruct its application.
Once your walls have been thoroughly cleaned, inspect them for cracks or holes that need filling with caulk or lightweight spackling compound to repair. Use caulk to fill and repair these imperfections if possible.
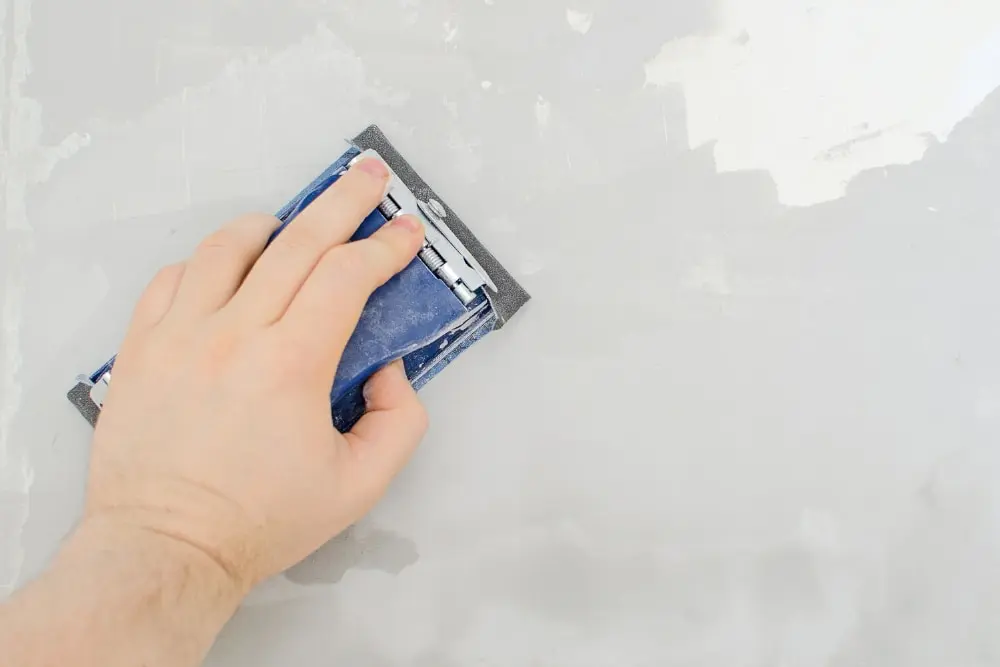
Sand down any bumps with fine-grit sandpaper folded in quarters for optimal primer drying time, then wipe your walls down with damp cloth before adding your first coat of paint.
Apply the Final Coat
Painting rooms is an easy and relatively cost-effective way to increase the appeal of your house. But before starting any painting job, be sure that all walls have been thoroughly prepared to avoid peeling, uneven coloring or streaks on them.
An excellent way to accomplish this task is to apply primer to the wall first; this gives the surface texture while aiding adhesion of new paint layers.
Primer also helps give walls an attractive finish by giving them an even, smooth surface to paint upon. This step is especially vital if moving from dark to light hues or vice versa.
If there are open crevices on the walls, fill these areas with spackling to prevent paint seeping into these hidden crevices. Doing this will prevent seeping through into these recesses.


