Painting rooms is an exciting and cost-effective way to spruce up the appearance of your home, but before starting it’s important to know a few essentials. Here’s everything you should consider before painting any room!
Start by identifying which surfaces you plan to paint and the amount of paint required for each. Make a list of all supplies necessary, then store them all together before beginning work.
Walls
An expert paint job can completely transform a room. However, to achieve professional-grade results it’s crucial that you follow all necessary steps.
Start by clearing all furniture from the area you will be painting, covering it with drop cloth or moving it elsewhere if necessary.
Before painting, thoroughly clean the walls by scrubbing with a sponge or cloth, or diluting sugar soap in water and using a scrub brush with sugar soap diluted into it to scrub. Rinse it completely afterwards!
Apply a light coat of primer to the walls before painting them in order to reduce the number of coats necessary for solid color coverage.
Once the primer has set, you can begin painting. Start at the top and work your way down, covering each area equally.
Paint the ceiling in 3-foot by 3-foot sections, overlapping each onto the wet edges of the one before it. This will help avoid roller marks and ensure an even, uniform finish.
Ceiling
Painting the ceiling can add the perfect finishing touch to a room, yet painting one is far from straightforward. Many factors should be taken into account such as paint drips and different surface materials to be considered when painting your ceiling.
Before painting begins, prepare the area by moving furniture to an isolated corner or covering it with dust sheets or other protective materials to stop paint dripping onto walls and floors.
Wash the ceiling using sugar soap and a sponge mop to remove dirt and grime, which will allow paint to adhere more securely to its surface and minimize brush marks or runs.
Before painting the ceiling, apply a stain-blocking primer. This will cover up more flaws, hide faded colors and restore its look – helping it look brand new again.
Trim
Painting can be an affordable way to refresh a room. But painting requires care and skill if you don’t have all of the right tools or know-how; otherwise your job could end up looking amateurish instead of professional.
Pros advise starting by painting trim first, as it’s easier to tape it off and avoid spilled paint on walls or ceilings that you will have to cover later.
Painting rooms with textured ceilings can be challenging, as paint often ends up getting on bumps in the texture. But pros have an effective solution: use a slotted screwdriver to smooth some of it away!
Doors
Painting your door can give it a brand new look while being an affordable project.
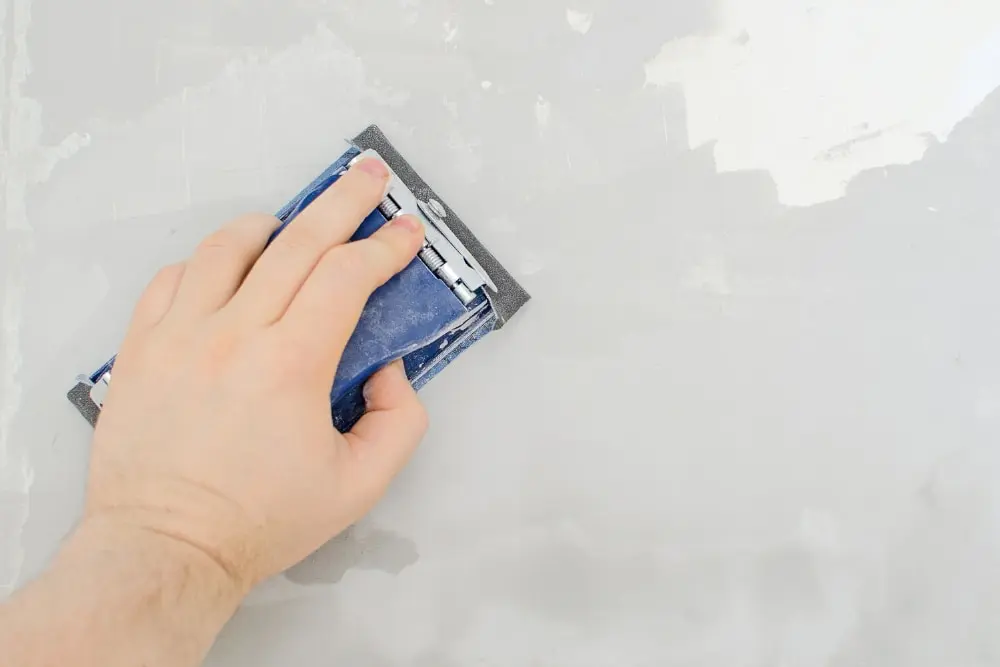
Preparation is key to any successful paint job. Begin by lightly sanding the door to remove old, worn-down paint or coating using either a power sander or simple sanding block.
Selecting the ideal paint for the task at hand is also key, and should ideally consist of water-based satin or gloss paint that resists yellowing and fading over time.
Be sure to select a quality brush or roller, as a low-quality one can trap fibers and leave marks behind, while an expensive roller provides a superior finish.
Followed by painting the edges of your door in order to prevent paint from seeping off of them and onto its face, this step will ensure a heavy coat doesn’t run onto its face and oversaturate it.