Over time, wood floors can become dull and damaged. Restoring them can restore their natural beauty and increase the home’s value.
Before embarking on any restoration project, it is crucial to assess and plan accordingly. In this blog post we provide essential tips and techniques for revitalizing old wood floors.
Sanding
Floor sanding is one of the key steps in revitalizing old wooden floors, as it removes old finishes and surface-level damage, revealing beautiful, unblemished wood underneath. Start with coarse grit before moving on to medium, finer grit until your wood has been smoothed to your satisfaction. A floor sander is available for rental at most home improvement stores – be sure to wear protective gear, however; as this process can produce significant dust.
Water stains, scratches, dullness and areas worn down to bare wood are sure signs that your floors need some work. Refinishing and sanding can bring life back into old hardwood flooring or provide an opportunity to add an eye-catching new design element.
After sanding, clean the floor using vacuuming or sweeping followed by damp mopping with a damp mop or tack cloth to remove any residual dust. Allow the floor to dry thoroughly. For an added touch, buffing with either a buffer or rental sander with 120-grit pad can level minor unevenness left by sanding and also help cover up any scratches left from sanding.
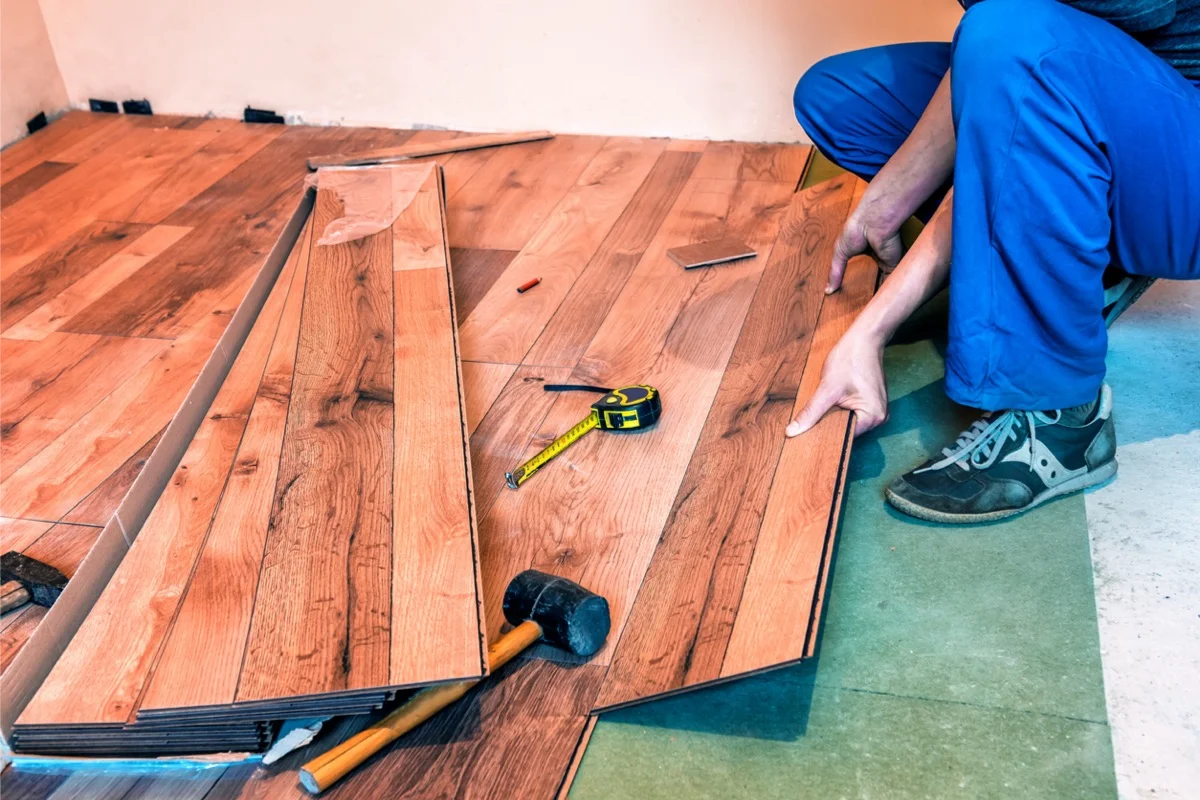
Filling
Wood floors can quickly become dull over time due to an accumulation of dirt and grit, but rejuvenating them can restore their beauty while providing a cleaner living environment.
Restored wood flooring is easier to maintain with regular sweeping and mopping using a pH-neutral cleaning solution that has been specially tailored for hardwood. Restoring hardwood also protects against damage by lowering risk of trip and falls and creating a safer living environment for you and your family.
Polyurethane finishes provide additional protection and add an attractive sheen to wooden floors, so restoring them with one is sure to add years of service life and aesthetic value. Apply it using either a paintbrush or lambswool roller according to manufacturer instructions, then allow it to dry according to setback times.
Staining
Staining wood floors is an engaging way to customize them for the decor of your home. There’s an assortment of colors available, so you’re sure to find just the look you’re after; darker hues also offer greater dirt-hiding abilities than lighter tones.
Buffing the floor after staining will provide the final step and protect your investment. Make sure all windows and ventilation outlets are open while using polyurethane which produces strong fumes; use small sections, wiping off any excess stain before moving to another section – otherwise drying edges could leave streaked lines across your floor!
After staining your wood, it may also be beneficial to buff it using a hardwood floor buffer in order to help the finish set more quickly and evenly. Be cautious not to buff too much as overdoing it could leave your floor looking dull and uneven; use an inconspicuous scrap piece of wood as a test run in order to determine exactly how much buffing the floor needs.
Polyurethane
After restoring your wood floors, it’s essential that they be finished off with a polyurethane to provide protection and add shine. There are both water-based and oil-based finishes available; water-based options, like Vermeister Silk or Bona Traffic HD two component solutions provide quick drying times while producing beautiful sheen. Oil-based polyurethanes may require more patience as they dry slower and emit odors; please plan ahead when applying these. Likewise, be sure to wear a respirator while working.
Maintaining beautiful floors begins with regular care: mop or vacuum at least three times each week and use wood floor cleaner once monthly. Furthermore, fill any small gaps or cracks using wood patching material during warmer days so the wood expands into any gaps to prevent future issues when it’s time to refinish them again.