
Some DIY homeowners who are skilled can complete the project in only a few hours; the only factor which delays everyone is working around door jambs.
Staggering the start of each row of vinyl planks is essential to creating a natural-looking finish and ensuring their stability. Furthermore, short joints should also be staggered at each row’s end so as to prevent them from closing over time.
Underlayment
Subfloor conditions can have an enormous effect on how well a new floor works, and installing underlayment can help hide imperfections in it, giving vinyl plank flooring an even surface and soft feel. Some manufacturers of luxury vinyl plank (LVP) recommend underlayment use, while some require it or even consider non-use as grounds for warranty cancellation.
If your LVP does not already include underlayment attached, consider installing some to provide additional support and protect the subfloor from moisture damage. Some underlayments also contain waterproof barriers to keep your floors looking great longer.
As you install your first row of vinyl plank flooring, remember to stagger its seams. While its tongue and groove system makes this happen naturally, planning ahead ensures all rows fit together seamlessly. Likewise, measure and mark planks for door casings or any other features within your room before beginning installation.
Adhesive
Once your subfloor is clear and prepared to receive vinyl planks, apply an adhesive according to manufacturer instructions for application.
As you work, keep an eye out for any low spots or bumps in the floor; for proper installation of vinyl planks, the subfloor should be level and free from unevenness or bumps.
If a plank does not click into place properly, inspect its groove to make sure nothing has become trapped there. Use spacers to maintain a 1/4-inch gap between it and the wall as vinyl can expand or contract in response to humidity changes.
As you continue laying your floor, stagger the seams between rows to achieve a more natural and cohesive appearance. Doing this also prevents planks from lining up perfectly which could create an unnatural look – do this until reaching the far wall.
Vinyl Planks
Luxury vinyl plank (LVP) flooring is beloved for its easy installation and wide range of finishes, not to mention being less costly than other alternatives. Before beginning installation, be sure to acclimate and prepare the room, especially if using interlocking installation method.
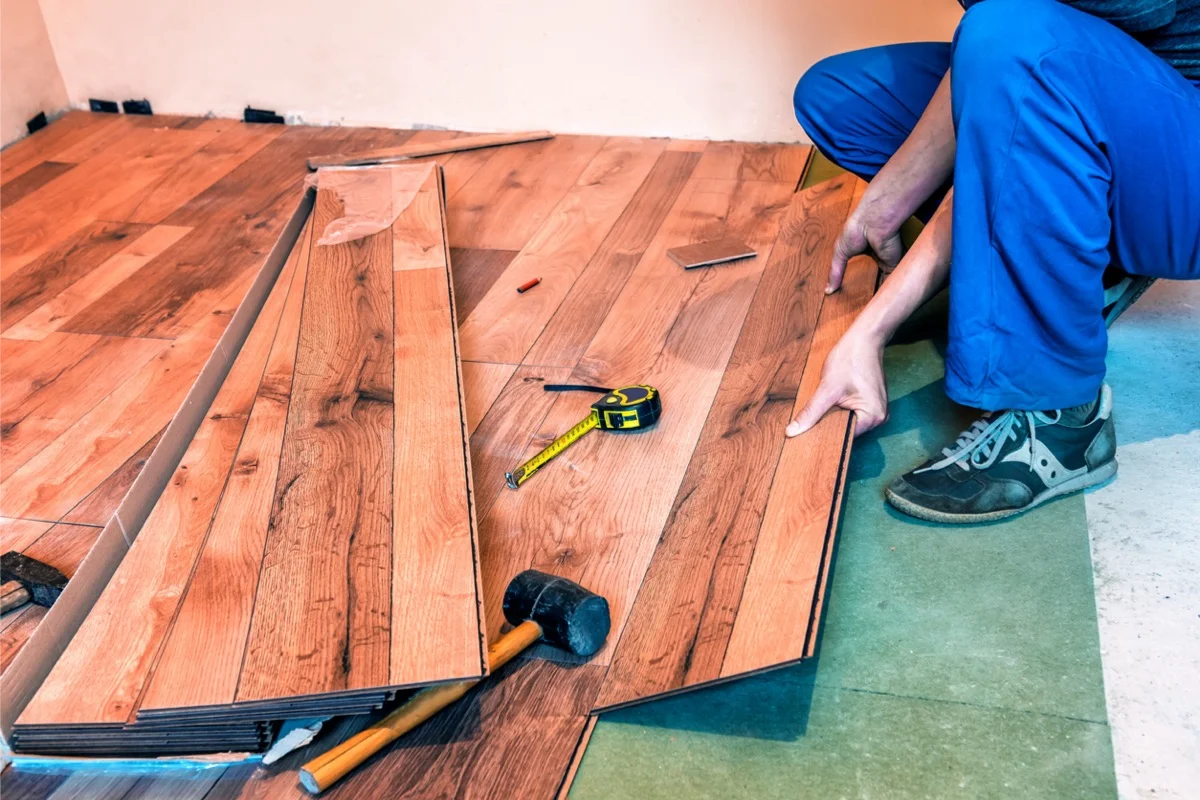
Once your floor is in place, start in one corner by aligning one piece from the first row with your center mark and using a tapping block and rubber mallet to ensure proper plank connections.
Continue to join the remaining rows together, cutting planks with a utility knife or snips as necessary to fit around obstacles such as door frames or floor ducts. As with the last two rows, stagger them slightly so as not to disrupt your room’s natural flow while installing. When finished, you will have a beautiful new floor!
Tools
Before embarking on any installation project, ensure you have all of the appropriate tools on hand. A utility knife and mallet or block may be useful for tapping together joints of each row; depending on your specific project requirements you may also require a jigsaw or circular saw.
Once you have collected and assembled all of the materials needed, let your new flooring acclimate. This step is crucial as vinyl planks can be very sensitive to temperature variations.
Starting your first row perpendicular to the longest wall will help reduce how often you need to cut pieces.
As you assemble each row, make sure that a 1/4-inch gap remains between the last plank and the wall in order to allow for expansion joints. If a row won’t click into place as expected, check its groove on previous planks for debris that might be blocking its fit – this might prevent any unwanted movement of pieces in future rows.

